Creating a claim-ready home inventory isn’t a week-long project; it’s a one-hour strategic task of building a ‘proof package’ for your insurer.
- Video walkthroughs and cloud-stored scans are more powerful proof than memory and fading receipts.
- For high-value items, detailed spreadsheets and professional appraisals are non-negotiable for proving value.
Recommendation: Start with a simple, room-by-room video tour on your smartphone today. It’s the most effective first step.
Imagine the worst happens—a fire, a flood, a burglary. After the initial shock, the daunting task begins: listing every single thing you owned for an insurance claim. The average home contains hundreds of thousands of items, and remembering them all under duress is an impossible task. Most homeowners know they *should* have an inventory, but the sheer scale of the project leads to procrastination. The common advice to « take a few photos » or « keep receipts » is well-intentioned but dangerously incomplete.
This approach misses the fundamental point. An insurance claim isn’t about what you remember; it’s about what you can prove. The burden of proof lies with you, the policyholder. But what if the goal wasn’t just to remember, but to build an irrefutable ‘proof package’ for your insurer? What if this wasn’t a monumental chore, but a strategic, one-hour task that could save you tens of thousands of dollars and immense stress?
This guide reframes the home inventory from a daunting task into a manageable, professional-grade process. As a professional organiser, I’ll show you how to adopt a forensic mindset to document your possessions efficiently and effectively. We will cover the fastest way to catalogue everything with video, the right way to preserve proof of purchase digitally, how to document high-value collections and new gifts, and crucially, how to photograph damage like a crime scene investigator. This system is designed to create a comprehensive record that makes your claim process as smooth and successful as possible.
This article provides a complete, step-by-step methodology to create a robust digital inventory. To navigate this guide, the table of contents below outlines the key strategies we will explore, from rapid video documentation to the forensic photography of a claim scene.
Contents: A Professional Organiser’s Guide to Building a Digital Proof Package
- Room-by-Room Video: The Ultimate Proof for Total Loss Claims?
- Cloud Storage for Receipts: Why Thermal Paper Fades and Scans Are Better?
- Spreadsheets for Collectors: Recording Serial Numbers and Condition Ratings?
- The Post-Christmas Audit: When to Add New Gifts to Your Policy?
- Bank Statements and Photos: Secondary Evidence When the Receipt Is Gone?
- No Receipt? How to Prove the Value of Inherited Jewellery After a Theft?
- Keep the Carpet: Why You Must Not Bin Damaged Items Until Inspected?
- The Scene of the Crime: How to Photograph Damage Before Cleaning Up?
Room-by-Room Video: The Ultimate Proof for Total Loss Claims?
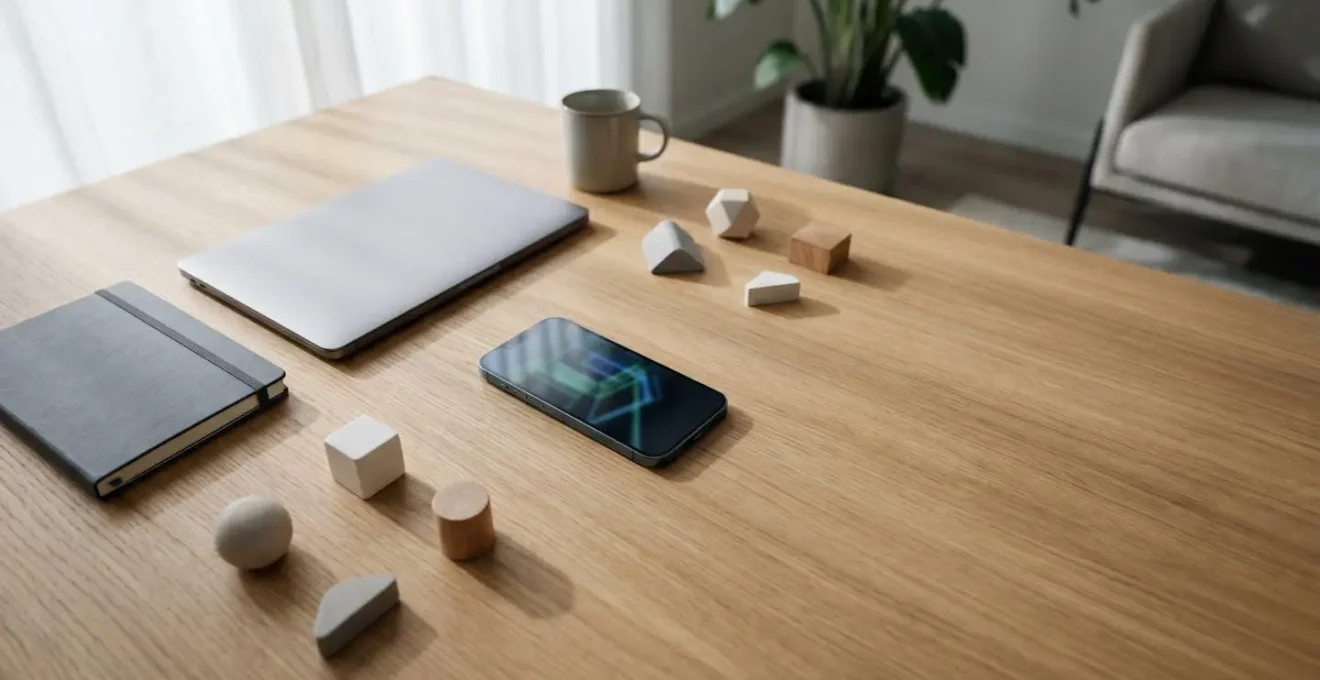
Faced with the challenge of documenting an entire home, the single most effective tool you have is your smartphone’s video camera. The average American home contains approximately 300,000 items, and in the event of a total loss, memory is a completely unreliable tool. Video provides indisputable, time-stamped proof of existence. Despite this, a 2023 survey revealed that less than half of homeowners have an inventory, as only 47% of homeowners prepared an inventory of their possessions.
The process is simple and can be completed in under an hour. Start at your front door and walk through your home systematically, room by room. As you film, provide a running commentary. Narrate what you see, stating the brand and approximate age of major items. Make sure you open every closet, drawer, and cabinet. This isn’t the time to be tidy; the goal is comprehensive documentation.
For electronics, appliances, and tools, zoom in on the model and serial number plates. These numbers are unique identifiers that are invaluable for adjusters. Don’t just film the living room; go into the attic, the basement, and the garage. The goal is to create a single, continuous video file that captures the state of your possessions on a specific date. Once complete, upload this video to a secure cloud storage service. This off-site backup ensures your proof is safe from the very disaster you’re protecting against.
Cloud Storage for Receipts: Why Thermal Paper Fades and Scans Are Better?
Keeping receipts is standard advice, but it comes with a critical flaw: most receipts today are printed on thermal paper. This paper isn’t printed with ink; the text is created by a chemical reaction to heat. This reaction is unstable and highly susceptible to degradation from light, heat, and even the oils on your fingers. A receipt that is perfectly legible today can be a blank, yellowing piece of paper in a year or two, rendering it useless as proof of purchase.
The only reliable solution is digital preservation. Instead of stuffing a shoebox with fading paper, get into the habit of digitising important receipts immediately. Numerous free mobile apps can turn your smartphone into a high-resolution scanner. For any significant purchase—electronics, furniture, jewellery, appliances—take a moment to scan the receipt and save it to a dedicated folder in a cloud service like Google Drive, Dropbox, or OneDrive.
Name the files with a consistent format, such as « YYYY-MM-DD_Item_Store.pdf » (e.g., « 2024-01-15_SonyTV_BestBuy.pdf »). This creates a searchable, permanent, and fade-proof archive of your purchases. As thermal paper experts confirm, scanning important receipts into image files is an excellent way to preserve them for the long term. This small habit provides concrete evidence of when you bought an item and exactly how much you paid for it—data that is crucial for a smooth claims process.
Spreadsheets for Collectors: Recording Serial Numbers and Condition Ratings?
While a video tour is excellent for capturing the breadth of your possessions, it lacks the structured detail needed for high-value items and collections. For things like electronics, valuable artwork, antiques, or collectable hobbies, a simple spreadsheet is your most powerful tool. This document transforms a simple list into a powerful dataset that an insurance adjuster can easily process and verify, leaving little room for dispute.
Your spreadsheet isn’t just a list; it’s a detailed catalogue. For each item, you should record specific data points that establish its identity, cost, and condition. This level of detail is especially crucial for items that are part of a set or have unique identifiers. It demonstrates a high level of care and provides a clear basis for valuation, preempting many of the questions an adjuster might ask. A well-organised spreadsheet shows you are a credible and meticulous policyholder.
Creating this document is the most detail-oriented part of the inventory process, but it provides the highest return on investment for your most valuable possessions. It serves as the central hub of your ‘proof package’, linking photos, receipts, and valuations into a single, cohesive record.
Your Action Plan: Building a Comprehensive Inventory Spreadsheet
- Itemise & Document: Create organised columns listing each item with its corresponding model or serial number for unique identification.
- Establish Timeline: Record when and where you bought each item. This helps establish the ownership timeline and age of the asset.
- Record Purchase Price: Document the original purchase price. This is the starting point for any replacement cost calculation.
- Link Visual Proof: Add photos of high-value items, ideally linking them directly from the spreadsheet entry for easy access.
- Rate Condition: Include condition ratings (e.g., Mint, Good, Fair). This anticipates adjuster questions about depreciation and item-specific wear.
The Post-Christmas Audit: When to Add New Gifts to Your Policy?
A home inventory is not a one-time task; it’s a living document. The most common time for a significant influx of new, valuable items is after holidays, birthdays, or major life events. A « Post-Christmas Audit » should become an annual ritual. This is the perfect time to add new electronics, jewellery, sporting equipment, and other high-value gifts to your inventory.
The reason this is so critical relates to your policy limits. Most homeowners insurance policies provide personal property coverage equivalent to 50-70% of the insurance on your home’s structure. While this seems like a large number, expensive individual items can quickly eat into that total. Furthermore, policies often have sub-limits for specific categories, such as a $1,500 limit for jewellery or a $2,500 limit for firearms. A new engagement ring or a valuable art piece could easily exceed these standard limits.
When you acquire a new, high-value item, you must do two things: add it to your digital inventory (video, photos, scanned receipt, and spreadsheet entry) and, crucially, notify your insurance agent. They can advise if you need a special endorsement or « floater » policy to ensure the item is fully covered for its appraised value. As official guidance confirms, regular updates are a key part of managing your policy.
Home inventories should be updated at least once per year, and your insurance company should be notified of new purchases.
– California Department of Insurance, Home Inventory Guide
Bank Statements and Photos: Secondary Evidence When the Receipt Is Gone?
The number one fear for homeowners creating an inventory is the missing receipt. For items purchased years ago, or for which the thermal receipt has faded to oblivion, it can feel like proof of ownership is lost forever. However, this is where a forensic mindset and the concept of value triangulation become your most powerful allies. A single piece of evidence might be weak, but a combination of secondary proofs creates a strong, persuasive case.
Think of it as building a story for the adjuster that is difficult to refute. You are corroborating a single fact—that you owned this specific item—from multiple, independent angles. The goal is to make it unreasonable for an adjuster to deny the existence and ownership of the item. This method requires a bit more detective work but is incredibly effective for filling in the gaps in your primary documentation.
By combining financial records with visual evidence and any remaining physical artefacts, you construct a verifiable record that carries significant weight in a claims negotiation. This proactive documentation demonstrates diligence and builds credibility with your insurer.
Building Credibility Through Triangulated Documentation
Legal experts on insurance claims emphasize that a multi-faceted approach to documentation creates a concrete and verifiable record. When a primary receipt is unavailable, a persuasive ‘triangulation of proof’ can be created. By combining a bank or credit card statement line item with personal photos or videos showing the item in use in your home, plus the original product packaging or manual if you still have it, you build a compelling case. This combination of financial record, visual proof, and physical artefact makes it very difficult for an adjuster to dispute ownership.
No Receipt? How to Prove the Value of Inherited Jewellery After a Theft?
Inherited items, especially jewellery, pose a unique challenge. They often carry immense sentimental and monetary value but rarely come with an original receipt. After a theft, proving the existence and value of a grandmother’s diamond ring or a grandfather’s vintage watch can seem impossible. However, a structured approach can build a powerful case for your insurance claim.
The key is to establish two things: proof of existence and a credible valuation. While you can’t produce a sales receipt, you can gather a compelling body of secondary evidence. This process involves sourcing documentation before and after the loss. The single most powerful piece of evidence you can obtain is a formal appraisal, which should be done for any high-value piece as soon as you inherit it and updated every few years. Even without a pre-loss appraisal, however, there are still effective steps you can take.
Gathering this information creates a comprehensive file that validates your claim. Here are the essential steps to take:
- Get a Formal Appraisal: If done before the loss, this is your primary proof. A certified gemologist can provide a detailed document that establishes the item’s materials, quality, and replacement value.
- Gather Affidavits: Ask family members who knew the item to sign a sworn, notarized statement attesting to its existence, description, and history.
- Search Family Photos: Scour old photo albums and digital archives for pictures of your relative wearing the jewellery. A clear photo is powerful visual proof.
- Consult an Estate Jeweller: Post-loss, an expert can provide a written assessment of the likely value based on your description, photos, and any remaining documentation.
- Document Provenance: Write down the history of the item—who owned it, when it was received, and any stories associated with it. This helps establish the timeline of ownership.
Key Takeaways
- A room-by-room video is the fastest way to document the bulk of your possessions, while a detailed spreadsheet is essential for high-value items.
- Digitize all important receipts immediately and store them in the cloud; thermal paper receipts will fade and become useless as proof.
- You can prove ownership without a receipt by triangulating evidence: combine bank statements, personal photos, and original packaging.
Keep the Carpet: Why You Must Not Bin Damaged Items Until Inspected?
After a fire or water leak, your first instinct may be to clean up the mess. You want to throw out the smoke-damaged sofa, the water-logged carpet, or the shorted-out television. This is a critical mistake that could jeopardise your claim. The damaged items themselves are the primary evidence. Disposing of them before your insurance adjuster has had a chance to inspect them can be interpreted as destroying evidence, a concept known in the legal world as spoliation.
Your insurance policy is a contract, and part of that contract requires you to show the insurer the damaged property. The adjuster needs to see the extent of the damage firsthand to assess the repair or replacement cost. If you throw the item away, they have only your word to go on, which can lead to disputes, delays, or even the denial of that portion of your claim. While the data varies by claim type, documentation issues are a common reason for claim denials.
As legal professionals in the insurance field often warn, the obligation to preserve evidence is a serious one. Prematurely disposing of damaged property can have severe consequences for your claim’s subrogation potential and overall success.
Spoliation of evidence occurs when someone with an obligation to preserve evidence with regard to a legal claim neglects to do so.
– Matthiesen, Wickert & Lehrer S.C., Avoiding Spoliation When Conducting Property Loss Subrogation Inspections
The rule is simple: until your claim is settled or your adjuster gives you explicit written permission, do not throw anything away. Move damaged items to a dry, secure area if you must, but keep them available for inspection. Take photos, but remember the photos are secondary evidence; the item itself is primary.
The Scene of the Crime: How to Photograph Damage Before Cleaning Up?
Before any cleanup begins, and after ensuring the area is safe to enter, you must shift your mindset to that of a crime scene investigator. The photos you take in the immediate aftermath of an incident are a critical part of your ‘proof package’. Your goal is to tell a visual story that clearly shows the cause and effect of the damage, leaving no room for ambiguity. A random collection of blurry snapshots is not enough; you need to follow a methodical, forensic photography process.
This process, often called the three-shot method, is used by professionals to document scenes comprehensively. It ensures you capture the overall context, the relationship between elements, and the specific details of the damage. Use the highest resolution setting on your smartphone and ensure you have good lighting, using a flashlight if necessary. Don’t just photograph the obviously broken items; document the path of damage. For example, in a water claim, photograph the source of the leak, the path the water travelled, and everything it touched along the way.
This disciplined approach to photography provides your adjuster with a clear and undeniable narrative of events, which can significantly speed up the approval process. The steps are simple but must be followed in order:
- The Establishing Shot: Take wide-angle photos of the entire room from several corners. This shows the overall context of the scene and the spatial relationship of items before they are moved.
- The Medium Shot: Move closer and photograph the relationship between the source of the damage (e.g., a burst pipe) and the items it affected (e.g., the floor, a cabinet, a rug). Capture these relationships from multiple angles.
- The Close-Up: Finally, capture detailed, close-up shots of the specific damage to each item. For these shots, include a reference object like a ruler or a coin in the frame to provide a sense of scale.
Your home is your biggest asset. Taking one hour today to create this digital record is the single most powerful and proactive step you can take to protect its value. Start with the room-by-room video tour now; your future self will thank you for your foresight.